Welcome to Day 1 of the Nightingale Sew Along! I’m so happy you are here.
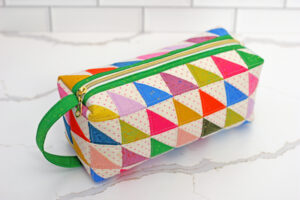
I originally posted these Sew Along tips and tricks in December 2025 in conjunction with a Nightingale Zipper Case Sew Along I hosted. I’m posting the daily assignments and bonus tips here to my blog for easy reference and for those who didn’t get a chance to join the Sew Along as it was happening. You can find the Nightingale Zipper Casepattern HERE and follow along with the Sew Along Blog posts to make your own!
Today we are basting and quilting our panels. I have a few tips below for you:
PREPARE FOR BASTING
Before I start basting, I try to make sure that all of my layers are pressed really well. This will help everything lay smoother and you’ll be less likely to get puckers in the fabric when you quilt.
I’d even recommend pressing the batting or Soft and Stable (or other foam stabilizer–unless it’s fusible!) before layering. Both batting and Soft and Stable press well and having the wrinkles pressed out will really help all the layers stay flat.
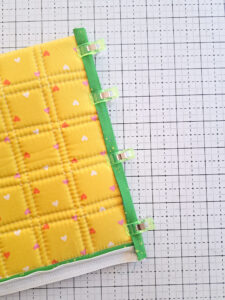
BASTING
Basting is a way to temporarily hold layers of fabric together. We don’t want the layers to move around while we’re quilting, so we baste them for the best results.
There are many different methods of basting (pins, adhesive spray, sewing long stitches, etc.). I’d recommend trying a few out so you can figure out which method you like best.
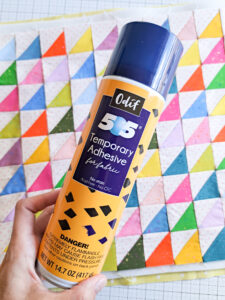
I prefer to spray baste smaller projects with Odif 505, but I frequently use safety pins for larger projects.
PREPARE FOR QUILTING
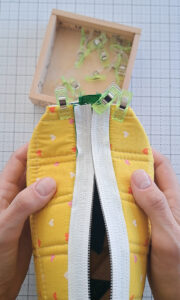
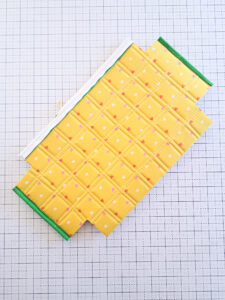
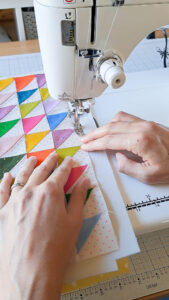
Once I have my layers basted, I choose a side of the panel that I can start most of my quilting lines from and stitch a line along one of the edges (just 1/8″ away from the raw edge) to stabilize the three layers.
Even though we’ve already basted, if you start your machine quilting from that stitched line as much as possible, it will further help keep the layers from shifting.
MARKING QUILTING LINES
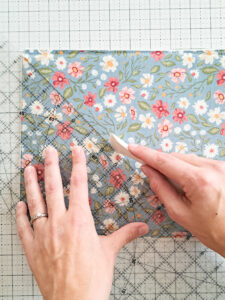
When I’m quilting a design that needs guides to follow, I like to use a Hera Marker to mark my lines (it only leaves an impression-not an actual ink mark). The dull side of a butter knife also works great! The impressions on some fabrics and batting/Soft and Stable combinations show up better than others, so don’t get discouraged if the lines are a little hard to see. Sometimes I’ll mark and quilt from the lining side if the Hera Marker works better on that side than the main fabric side.
There are many other ways to make guide lines (air/water erasable pens, strips of tape, etc.) or forgo the lines altogether and choose an organic design that doesn’t need lines to follow. If you’d like to see some of these other method in action, check out the video I shared on my Instagram account HERE.
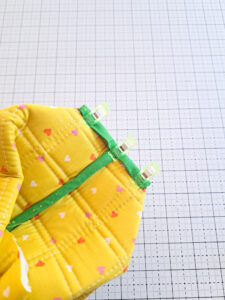
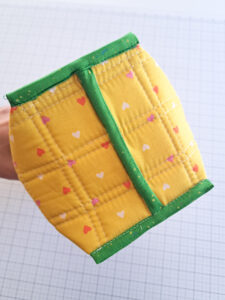
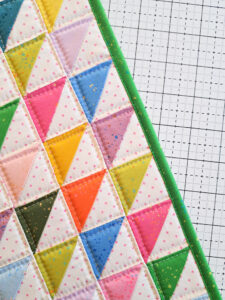
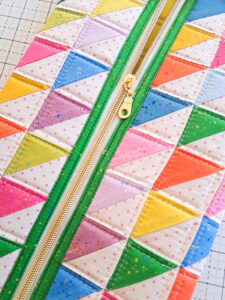
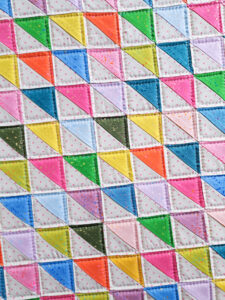
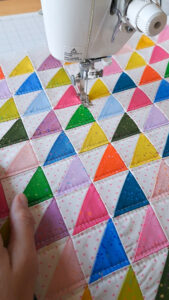
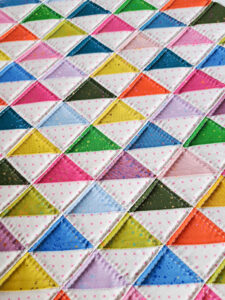
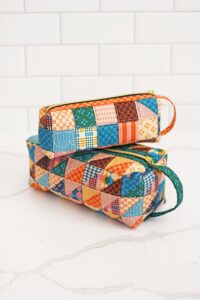
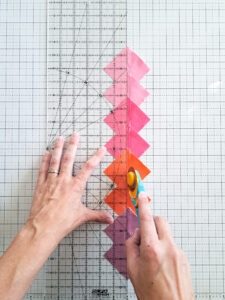
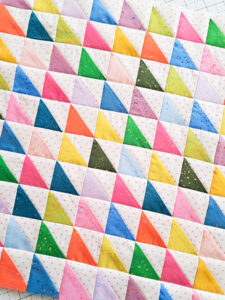
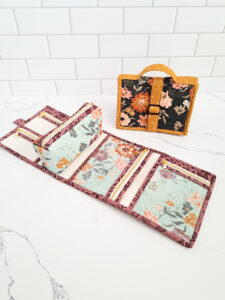
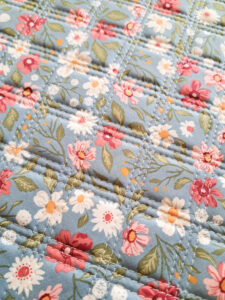
For my Nightingale Zipper Case here, I machine quilted cross-hatch lines using the 45 degree line on my quilting ruler. If you’re wanting some additional ideas for easy machine quilting designs, check out the Instagram video I posted HERE.
QUILTING
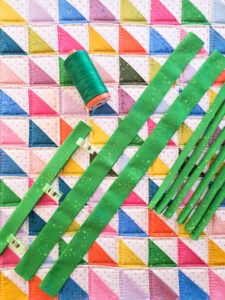
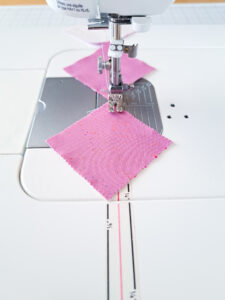
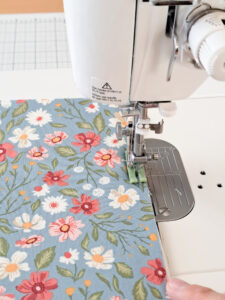
To keep things easy when I quilt, I use the same thread and needle that I use for all of my general sewing projects (my thread of choice is Aurifil 50 wt and I like to use Organ 90/14 needles).
For machine quilting, I do like to increase my stitch length a little. A standard stitch length on my machine is 2.5 and I like to increase it to about 3.5 for quilting. You can play around with your machine’s settings to see what you prefer.
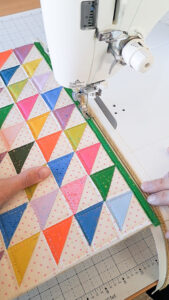
When quilting on my Juki sewing machine, I use a slim presser foot to quilt smaller projects. The Juki comes with a walking foot, however I’ve found that it doesn’t work really well (one of the machine’s only downfalls) and I prefer to use a regular presser foot. If I’m quilting a larger project then I get out my second machine (a Bernina) and use it with a walking foot. The walking foot can really help feed the layers through at the same speed and avoid puckering. If you have a walking foot, I’d generally recommend using it to quilt, or at least trying it out to see if it works better for quilting.

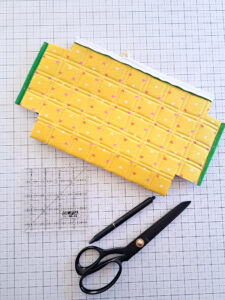
TRIMMING
Whenever I’m quilting fabric for a bag, I almost always start off with a bigger size than necessary, then trim to size after quilting. The process of quilting often shrinks the panel (the denser the quilting, the greater the shrinkage), and sometimes the layers shift a little, too. The extra size is built into my patterns, so no need to start out even larger than the measurements given.
Those are the tips for today! Check out the Day 1 video on Instagram HERE or on Facebook HERE.
Links from today’s tips:
Odif 505 basting spray
Hera Marker
Organ 90/14 needles
OLFA rotary cutter
OLFA 6″ x 24″ ruler
Wild Honey fabric by Lella Boutique for Moda
Thanks for sewing along!
-Kristina