Welcome to Day 5 of the Hemingway Pouch Sew Along! Today, I’m sharing some tips for making a mini Hemingway Pouch from the triangle cut-off.
Making a mini Hemingway Pouch from the triangle cut-off works best when using the triangle piece from the Large or Extra Large sizes of the Hemingway Pouch, but if you’re feeling up to a challenge, feel free to try the triangle from the smaller sizes, too.
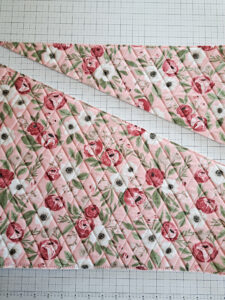
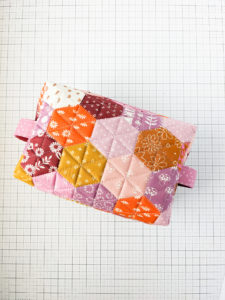
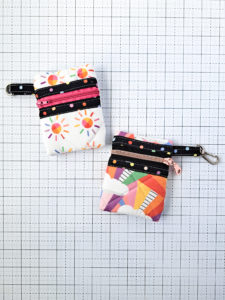
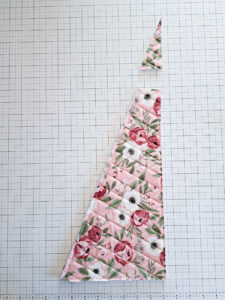
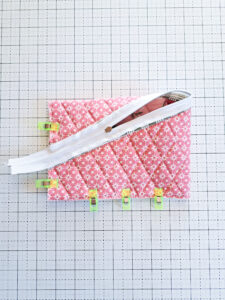
When making a mini Hemingway Pouch, I like to trim at least a little bit off of the triangle tip. This will keep the zipper out of the corner seam (that corner seam that is hard to pop right side out).
Play around with your triangle piece–you can keep it intact and not trim any off, you can trim a tiny bit off like I did below, or you can trim a larger piece off. The more you trim off, the taller and thinner your pouch will be. The less trimmed off, the wider and shorter your pouch will be.
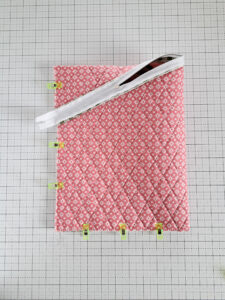
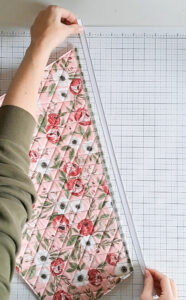
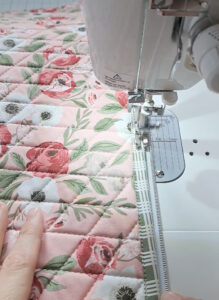
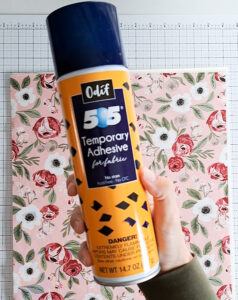
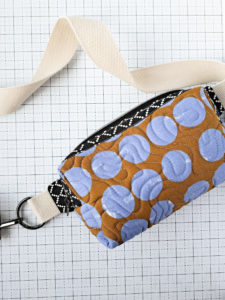
From here, the steps are pretty much the same as making a full sized Hemingway Pouch. You’ll first want to add the Zipper Binding. Cut the Zipper Binding strip the same width as the pattern calls for, then measure the diagonal length and add a couple extra inches to determine the length of your binding strip. Once the Zipper Binding is on, sew the zipper on just like a regular Hemingway Pouch.
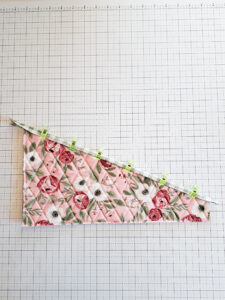
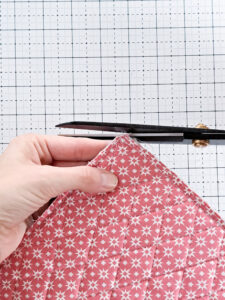
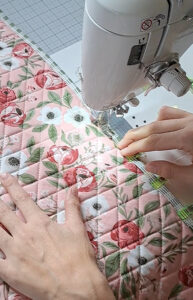
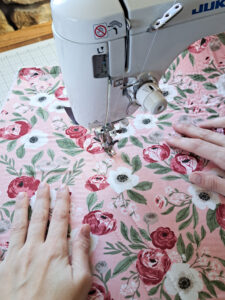
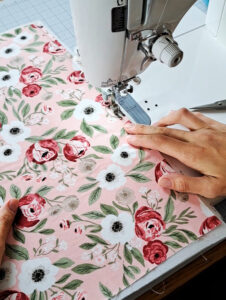
Next, you’ll want to turn your pouch inside out, line up the raw edges and sew along the two open sides to close up the pouch. Cut another Binding strip long enough to cover those two raw edges and attach just as you would a Hemingway Pouch.
Turn your pouch right side out, press the corners out, and admire your mini Hemingway!
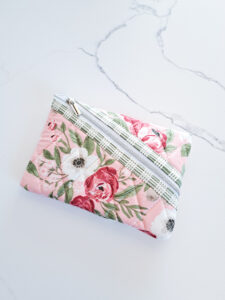
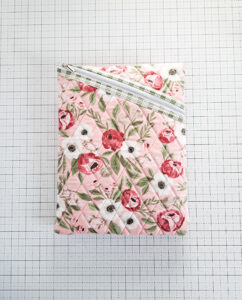
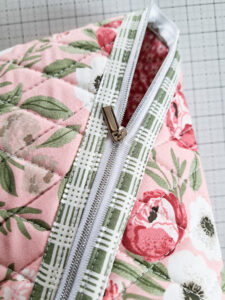
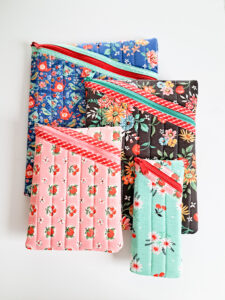
You can see that with my pouch above, the zipper comes really close to the bottom right corner. If you don’t start by trimming off a piece of the triangle, the zipper will go from top left to bottom right corner. Still really cute, but it does make turning the bottom right corner out a little bit harder.

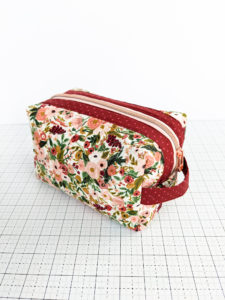
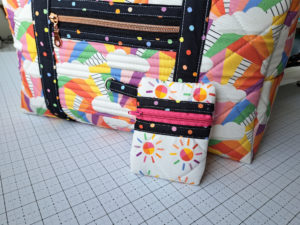
I love that the mini pouch matches my Large size Hemingway Pouch. Such a perfect set!
Thanks so much for sewing along with me!
-Kristina