Welcome to Day 4 of the Hemingway Pouch Sew Along!
Today, we’re finishing off our Hemingway Pouches by sewing the pouch closed and adding binding.
SEW THE POUCH CLOSED
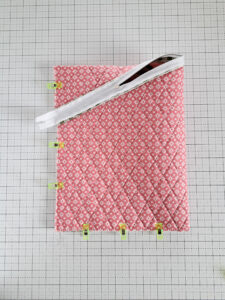
When turning the pouch inside out and lining up the edges, I like to hold everything in place with Wonder Clips.
If you weren’t able to get the sides perfectly even on each side of the zipper, that’s okay! Let the side that’s further out overhang the underside, draw a straight line for the vertical seam, then after sewing the pouch closed, you can trim the edge (and the excess zipper tails) so it’s about a 1/4″ seam allowance.
TRIM THE CORNER SEAM
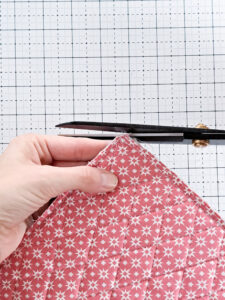
After sewing around the outside edge, take some fabric scissors and carefully trim the edges leading up to the corner seam so they are less than a 1/4″ seam allowance. I also like to trim a tiny bit off the corner (shown below). Just make sure to not trim into the stitch line!
Trimming the seam allowance smaller will lessen the bulk in that area and help that corner pop out a little better when you turn your pouch right side out.
FINISHING YOUR POUCH
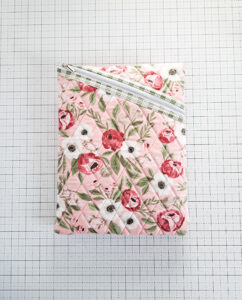
After attaching the Inside Binding, you can turn your pouch right side out through the zipper hole.
Use a blunt object to push on the binding and get those corners popped out. I usually use a wooden dowel that comes to a blunt point, but there are also sewing tools called “Point Turners” made for this exact purpose.
Those are my tips for today!
And remember to come back tomorrow for some bonus instructions on how to make a mini Hemingway Pouch from the triangle cut-off piece.
Links from today’s assignment:
Black LDH Scissors: click HERE
Clover Wonder Clips: click HERE
Point Turner: click HERE
Thanks for sewing along!
-Kristina