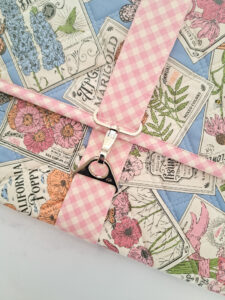
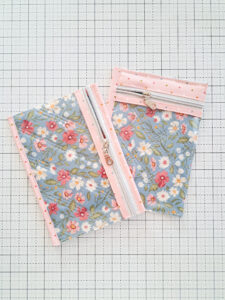
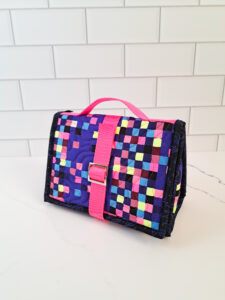
Meet the Pascal Carrying Case!
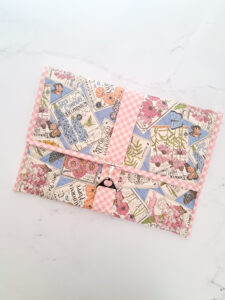
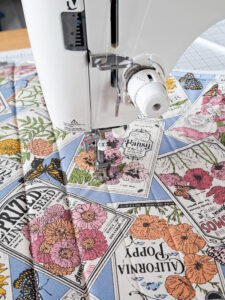
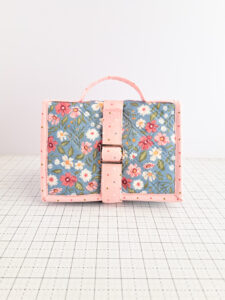
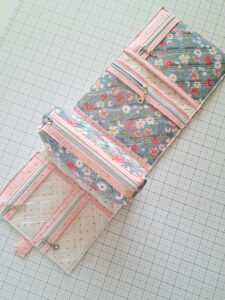
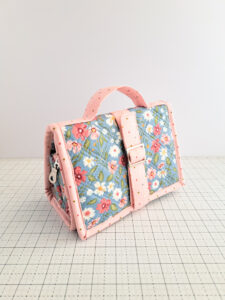
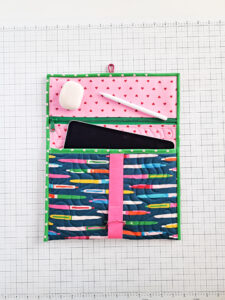
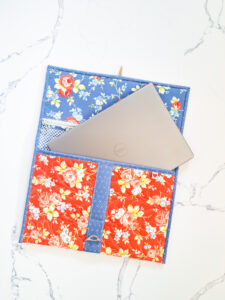
The Pascal Carrying Case is a modern quilted sleeve designed to keep your everyday essentials protected and organized in style. Whether you’re carrying an iPad, tablet, laptop, favorite notebook, or even a good book for on-the-go reading, the Pascal Case is the perfect combination of practical and pretty. You can find the Pascal pattern in my shop HERE.

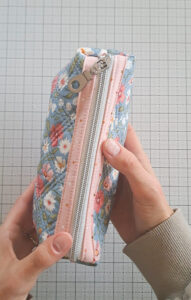
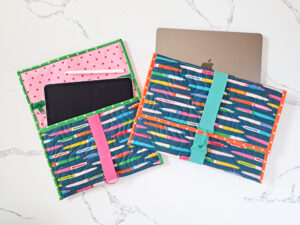
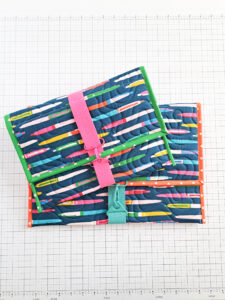
The Pascal pattern includes three versatile size options, making it easy to find a size for all your devices and daily essentials. A convenient interior zipper pocket keeps smaller items like pens, markers, charging cords, and earbuds neatly tucked away and easy to find.
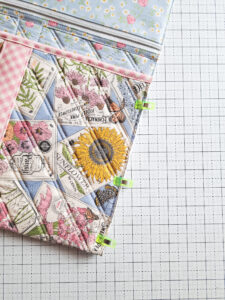
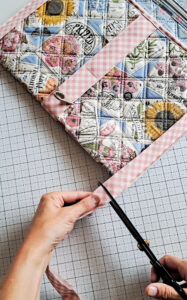
With its clean design, quilted texture, and functional details, the Pascal Carrying Case is a fun and satisfying project for confident beginners and experienced sewists alike. It’s the kind of handmade accessory you’ll reach for every single day. Plus, it also makes a thoughtful gift for students, teachers, readers, and creatives!
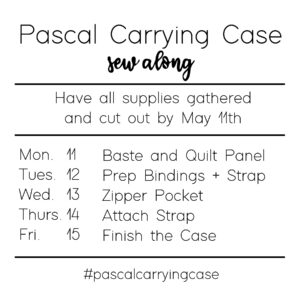
If you’re looking for a little extra guidance in making your own Pascal Carrying Case, please join me for the Pascal Sew Along! Whether you’d like some extra tips and videos to guide you, or are looking for some motivation to finish a quick project, please join in! The Sew Along itself is completely free to join, but you will need to purchase the Pascal Carrying Case Pattern to make the bag.
If you’d like to participate in the sew along, make sure you’re signed up (click HERE for the link), have the pattern purchased from my shop , and have all of your supplies gathered and cut out by Monday, May 11th. Every morning (for West Hemisphere participants. It will be later in the day for those in earlier time zones), you’ll receive an email with the day’s assignment and any extra tips I have to add. Plus, I’ll be posting a daily video on Instagram and Facebook to help those of us that are visual learners! Yay!
Since we will have people joining from all over the world, there aren’t any live portions of the sew along. You can sew at your own convenience–including working ahead or catching up later in the week if needed. And if you can’t sew with us the week of May 11th, no worries! Still sign up so you can save the emails and refer to them when you’re ready to make the Pascal Case.
I get asked all the time about where to find specific supplies, so I put together a list of items that I have personally purchased and used for sewing zipper pouches like the Pascal Case. Many of the products are linked to Amazon, because that’s an easy source for me to link and for a lot of people to purchase items from. Please feel free to check out other options, too, as you can certainly find the products elsewhere.
Supply Recommendations
Fabric:
I have purchased fabric from SO many different shops (and have generally had very positive experiences). However, below are a few links to my absolute favorite online fabric shops that I shop at again and again.
Monograms for Makers: The Monograms for Makers shop is one of my go-to fabric sources! Meg has so many fun prints (Ruby Star and Rifle Paper galore!), fast shipping, and the best customer service!
Crimson Confection: Jennifer puts together the sweetest bundles of fabric! If you like darling prints and perfectly curated bundles, check out Crimson Confection.
Stitch Supply: A large selection of fabric and other notions like zippers, bag hardware, webbing (for handles). Plus, order over $50 or $100 and get a free small or large project bag!
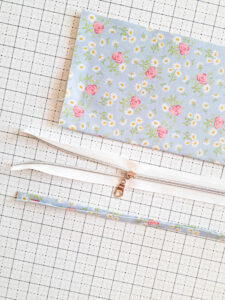
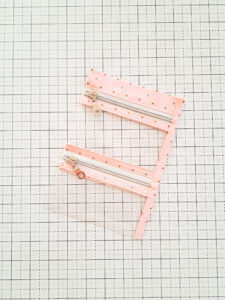
Zippers:
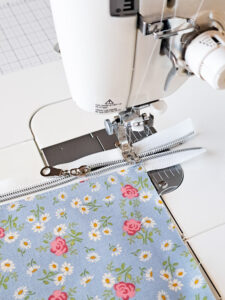
For the Pascal Zipper Case, I recommend either a standard size #3 nylon zipper (like what you’d find at a big box store like Walmart or Hobby Lobby), or a larger size #5 zipper. Size #5 zippers have larger teeth, a bigger zipper pull, and wider zipper tape, which makes them a little easier to sew with. A nylon zipper is preferable over a metal zipper, as you can sew right over the nylon (plastic) zipper teeth without breaking a needle. I almost always purchase and use size #5 zippers by the yard. When you purchase a zipper by the yard, it comes in a long coil so you can cut the zipper to size then attach a zipper pull. This is a really efficient way to use zippers, as you cut off the exact amount you need for the project. I have some of my favorite zippers and sources linked below.
YKK Zippers from the Etsy shop ZipIt
Zippers by the yard from Amazon. I have purchased this brand on Amazon many, many times. They come in 10 yard lengths (!) and it’s a great price: Amazon link
By Annie Zippers by the yard. I have pretty much every color of By Annie Zippers by the yard. They are a great quality and come in fun colors. They are actually size #4.5, so slightly smaller than #5 zippers, which doesn’t make a noticeable difference except that the zipper pulls aren’t interchangeable with size #5 zippers: Amazon link
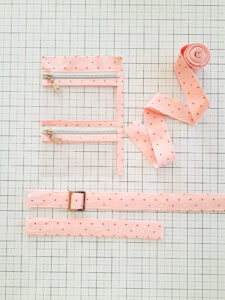
Hardware and Webbing:
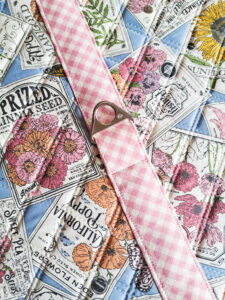
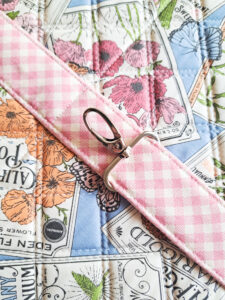
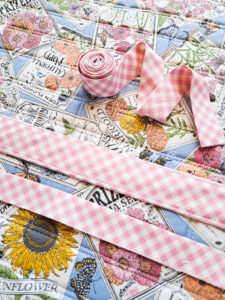
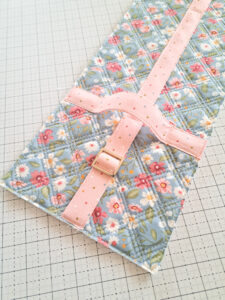
You can find the hardware (swivel hook and D/Triangle Ring) and webbing needed for the Pascal Case at various places. Here are a few recommendations to get you going.
Stitch Supply Co has a lot of hardware options in so many fun colors and the coolest webbing. Remember to check to make sure you are getting the same width for the webbing and hardware.
Amazon has some great options for hardware. Here is a set that has both 1″ and 1 1/2″ wide options in various metal finishes.
By Annie also has great quality hardware in metal finishes (I’ve linked to the By Annie website, but various Etsy shops also sell their hardware).
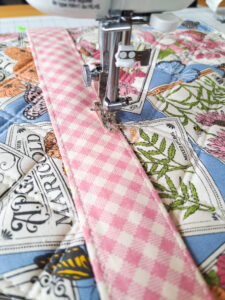
Bulk white webbing (to cover with fabric): If I’m not using a decorative webbing, I use white webbing and cover it with coordinating fabric. It’s very cost-effective to purchase the webbing in bulk (a 10 or 25 yard roll) and really nice to always have webbing on hand when you need it. Link to webbing on Amazon that I have purchased.
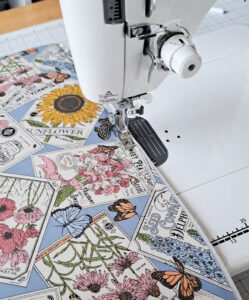
Quilting material:
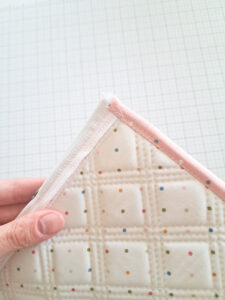
I prefer using Soft and Stable in between my layers as I quilt. Soft and Stable is a foam stabilizer that gives more structure and protection than a regular batting. There are other foam stabilizers (like Pellon Flex Foam) that also work well–just make sure you are getting a big enough piece for your project. You can also use regular batting like Warm and Natural or Hobbs Heirloom batting.
Soft and Stable: Amazon
Pellon Flex Foam: Amazon. (Pellon Flex Foam comes in 20″ width, so make sure it’s big enough for your project! Also, Pellon Flex Foam has fusible options–I prefer the non-fusible versions, but many people use and prefer the fusible type–it’s just personal preference).
Other Sewing Supplies:
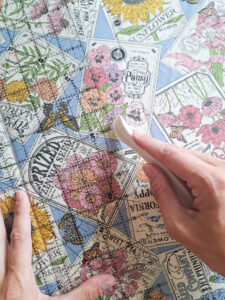
Hera Marker for marking straight quilting lines: Amazon
Wonder Binding Clips. (I use these ALL the time to hold things in place while I sew): Amazon
Odif 505 Basting Spray: my preferred method for basting small projects like zipper pouches. Amazon link HERE.
OLFA Rotary Cutter: my favorite rotary cutter out there! Amazon link
Clover chalk marker. I use this white chalk marker for marking on darker fabrics. It’s easy to brush the chalk marks off after. Amazon link
Please let me know if you have any other requests for supply recommendations. You can always look at my Amazon Favorites page HERE for items that I have purchased and use regularly. Again, feel free to shop at your local stores for supplies–Amazon is just a handy tool for me to link my favorites.
Happy Sewing!
-Kristina