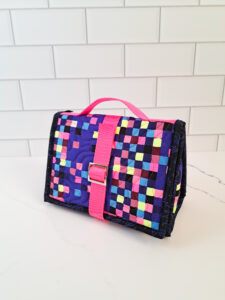
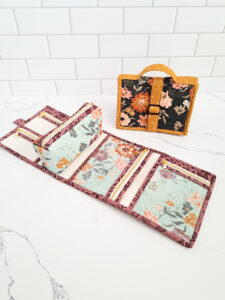
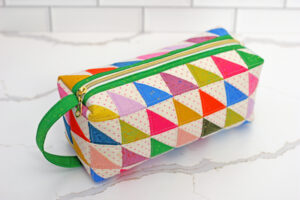
We’re on the final day of the Nightingale Zipper Case Sew Along!
Today, there are three main tasks we’re completing:
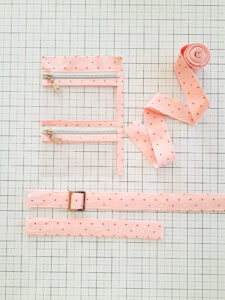
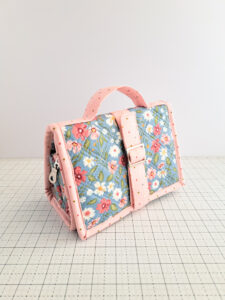
- Attaching the Strap and Handle,
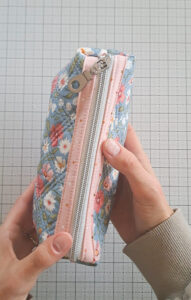
- Sewing on the three Vinyl Zipper Pockets then the Zipper Pouch, and
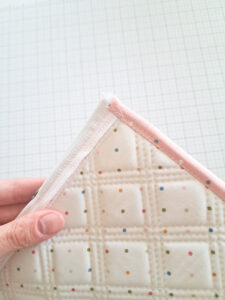
- Attaching the Final Binding.
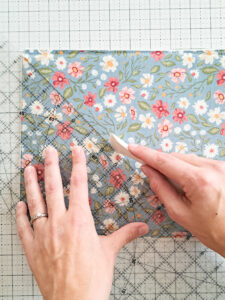
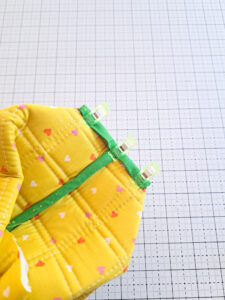
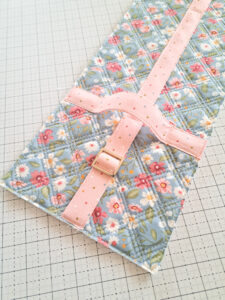
A few tips for the first main task of attaching the Strap and Handle:
- I like to use a white Clover chalk pen to mark the lines on the Main Quilted Panel. It works especially well on darker colored fabric and easily brushes off. I frequently use a Frixion erasable pen to make marks other places (the ink erases with heat from an iron), but the Frixion ink can reappear in really cold temperatures, so I try to stay away from using it in highly visible areas.
- Make sure you attach the Strap first (the longer piece with the strap slider) and then the Handle after the Strap.
- Before sewing the Strap and Handle, consider changing out your bobbin thread to match the Lining fabric on the Main Quilted Panel so the stitches on the Lining aren’t super visible.
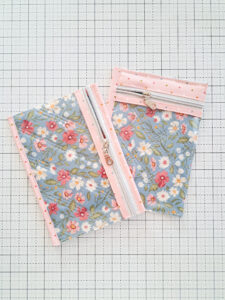
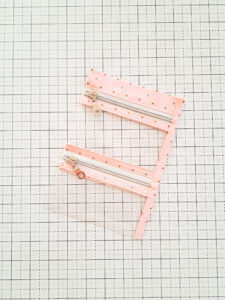
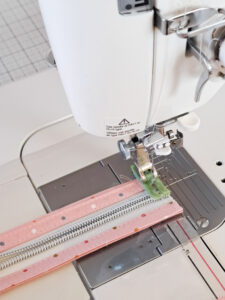
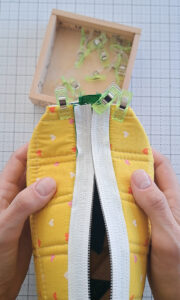
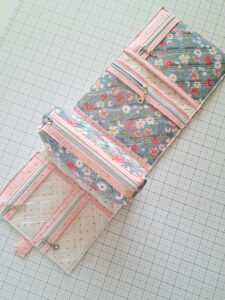
Some tips for sewing on the Vinyl Pockets 1, 2, and 3, and the Zipper Pouch:
- Check the loose end of the Strap to make sure it is out of the way!! Before sewing each new unit onto the Main Quilted Panel, just do a quick double check to make sure you’re not sewing over the Strap (even though I check on the Strap location quite frequently, I actually sewed right through the corner of the end of the Strap on one of my Nightingale Cases–whoops!).
- When sewing on the Vinyl Zipper Pockets, check to make sure your bobbin thread matches to the Main Quilted Panel fabric. There will be two seams going across the Strap, so choose a color of thread for the bobbin that works well with both the Main fabric and the Strap. I have been known to get a Sharpie marker and carefully color the thread to match the fabric underneath, so know that that is an option if the Main and Strap fabrics don’t both work well with one thread color.
- Remember to sew an extra seam across Vinyl Pocket 1 in between the two zipper pockets! For some reason, this little extra seam is easily skipped and forgotten about (until you realize that the two zipper pockets aren’t separated at all).
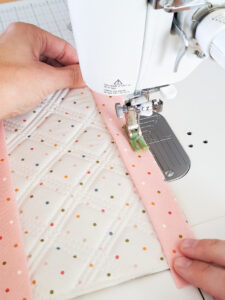
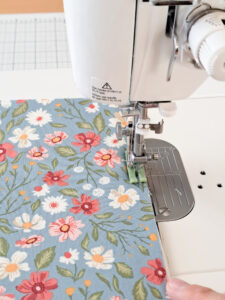
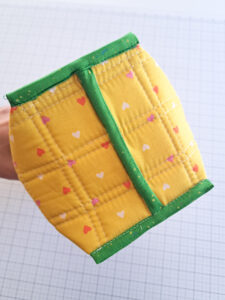
And some notes on sewing the Final Binding:
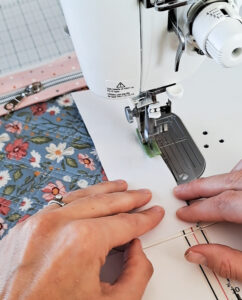
- Sewing the Binding up and over the area where the Zipper Pouch is attached to the Main Quilted Panel can get pretty bulky. I like to slow down and use my handwheel to advance the needle so my machine is less likely to skip stitches.
- I have completed the second side of the Binding both by hand and by machine. On my Nightingale Zipper Cases, I always feel like the hand stitching looks nicer, but the machine stitching looks fine (just not as even as nice as the hand stitching). You might find that you prefer machine stitching the last Binding seam! If you’re machine sewing, just go slowly and try to get the width of the Binding folded over to the front side as even as possible. You also might want to use the handwheel on parts of that final seam, as (again) there are some pretty bulky areas.
- When sewing the Binding on, you’ll (again) want to check to make sure that the Strap is out of the way. If you sew the final seam by machine, make sure the zipper pulls are away from the edges, too. They can easily get turned under the binding area and if you sew over a zipper pull, your needle will likely break (as me how I know–haha!).
- After I finish the entire case, I like to iron the Handle, as it often gets a little wonky or smooshed after adding the Binding on.
That’s it for Day 5! You can find the videos to go along with today’s assignment here: Instagram (part 1 and part 2) and Facebook (part 1 and part 2)
Thank you so much for sewing along with me! I have absolutely LOVED seeing your own Nightingale Zipper Cases pop up on Instagram and Facebook. I hope you’ve learned a new tip or two and have been inspired to spend some time at your sewing machine.
Links tp products from today’s assignment:
Clover Chalk Pen
Frixion Heat Erasable Pen
Clover Wonder Clips
Zipper by the yard
Wild Honey fabric by Lella Boutique for Moda
Happy sewing!
-Kristina