
It’s Day 3 of the Pascal Sew Along and today we are assembling and attaching our pocket. If you’re nervous at all about zippers, I hope today will show you that they can be pretty easy to install!

A few notes about today. . .
First, I like to add fusible interfacing on fabric that I’d like to add a little more structure or weight to, without adding a ton of bulk. The fusible interfacing on the pocket is completely optional, so if you don’t have some or can’t find some, please don’t worry about it! For a lightweight fusible interfacing, I like to use Pellon SF101, but there are other great lightweight interfacings that also work.
When sewing the zipper and Zipper Binding to the Pocket, the zipper and Zipper Binding will be longer than the Pocket fabric. I often like to add a little length to bindings and zippers, as it makes them SO much easier to attach. In my opinion, it’s worth it to sacrifice a few inches of fabric or zipper to get an end product that looks much nicer.
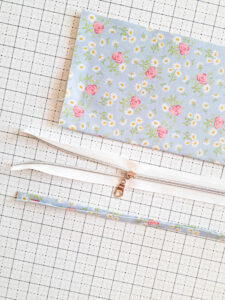
After attaching the zipper, I like to sew across the open end of the zipper teeth (see photo below). This helps keep the zipper ends from flapping around and will make the Pocket easier to attach to the Quilted Panel. The zipper teeth here look metal, but this zipper by the yard is actually vinyl (plastic teeth). Here’s a link to the exact zipper I’m using in these photos.
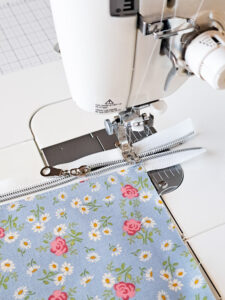
When sewing the Zipper Pocket to the Quilted Panel, choose a bobbin thread that will match the color of the Main fabric, as the seam across the Zipper Binding will be visible on the outside of the completed case.

That’s it for tips today! You can find the Day 3 video a little later in the day on Instagram or Facebook .
Links for products from today’s assignment:
Zipper by the yard used in this Pascal Case I’ve purchased this brand many times and they are a great quality and price! The zipper teeth look metal, but are plastic.
Clover Wonder Clips
Organ 90/14 needles
Juki TL2000 Sewing Machine
Thanks for sewing along!
-Kristina