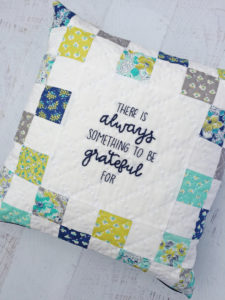
I was honored when Jessica Dayon asked me to participate in the blog tour for her book Season to Taste. I’ve been friends with Jessica for a couple years and she is not only an amazing quilt designer, but a generous and beautiful individual. Her book, Season to Taste, includes twelve different patterns, three for each season of the year. Some of the patterns are specific to the season they represent, but many of them can be customized to a different season depending on what fabric is used.
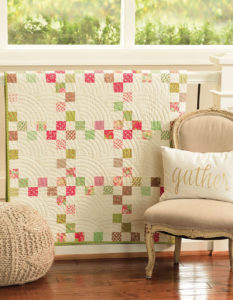
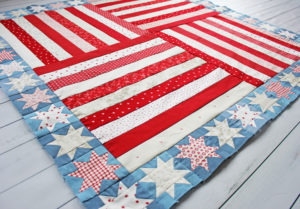
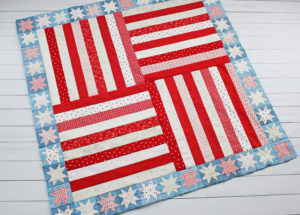
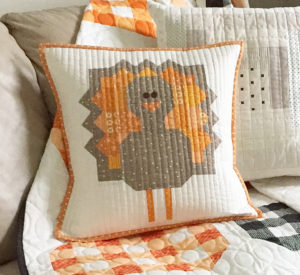
As I looked through the book, there were several quilts that quickly became a favorite, but one quilt really jumped out to me as a “must-make” pattern. Steadfast was included in the Summer portion of the book, and I fell in love with the bold stripes outlined with a border of stars. The red and white center portion goes together in no time at all and the miniature stars around the outside are perfect for chain-sewing while watching your favorite movie (Netflix marathon, anyone?).

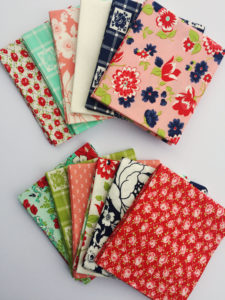
For the red and white/low volume prints in my Steadfast quilt, I chose the new Moda fabric line Roselyn by Minick & Simpson. The blues in the star blocks are two different shades of Moda Grunge fabric along with a chambray that I had in my stash. After much internal debate, I settled on using lighter, washed-out blues and love the faded look it gives–like a well-loved flag.
I spent portions of the Christmas holiday break sewing everything together and kept thinking how even though the design was meant to be Patriotic, the red and white stripes also reminded me of candy canes! If the stars were changed to green instead of blue, this would be a perfect Christmas quilt, right?!? Maybe my Patriotic Steadfast quilt will get a Christmas Steadfast quilt cousin. 🙂
Season to Taste is available now (check with your favorite quilt shop or click HERE to find it on Amazon) and Jessica is even hosting a free quilt along for one of the designs from the book! Check out her blog (HERE) or instagram account (HERE) to learn about the quilt along and to see detailed photos of the other great patterns from Season to Taste.
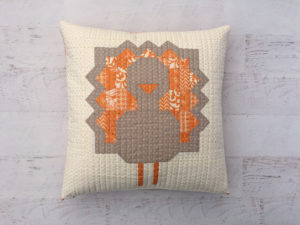
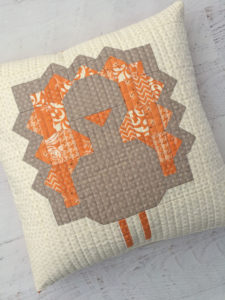
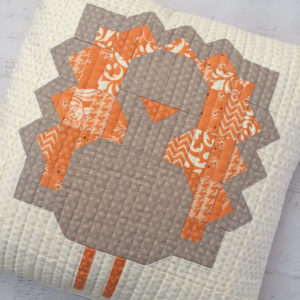
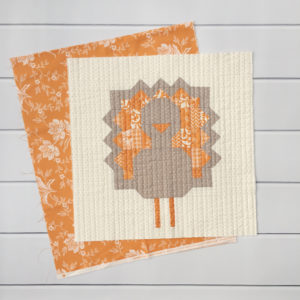
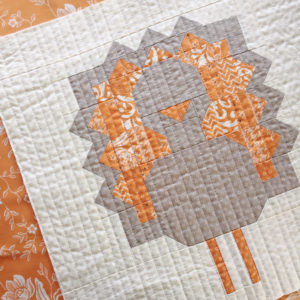

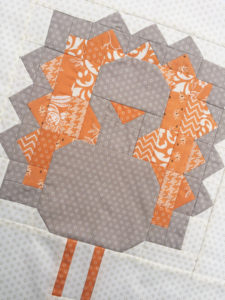
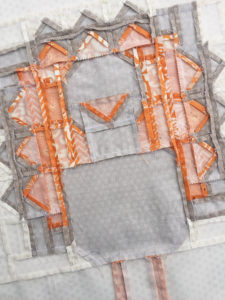

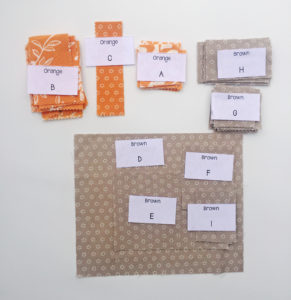
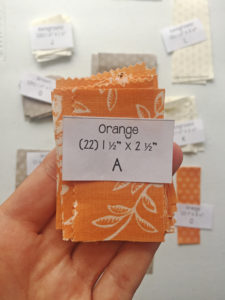
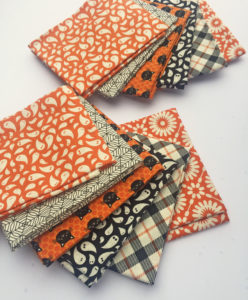
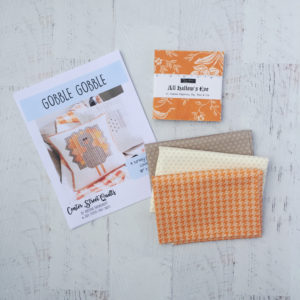
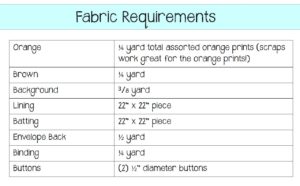 Another way to get a good variety of orange prints is to cut what you need from fat quarters or yardage in your stash. If you are going for certain shades of orange, you can easily pick out your desired oranges and follow the cutting instructions using only those prints.